
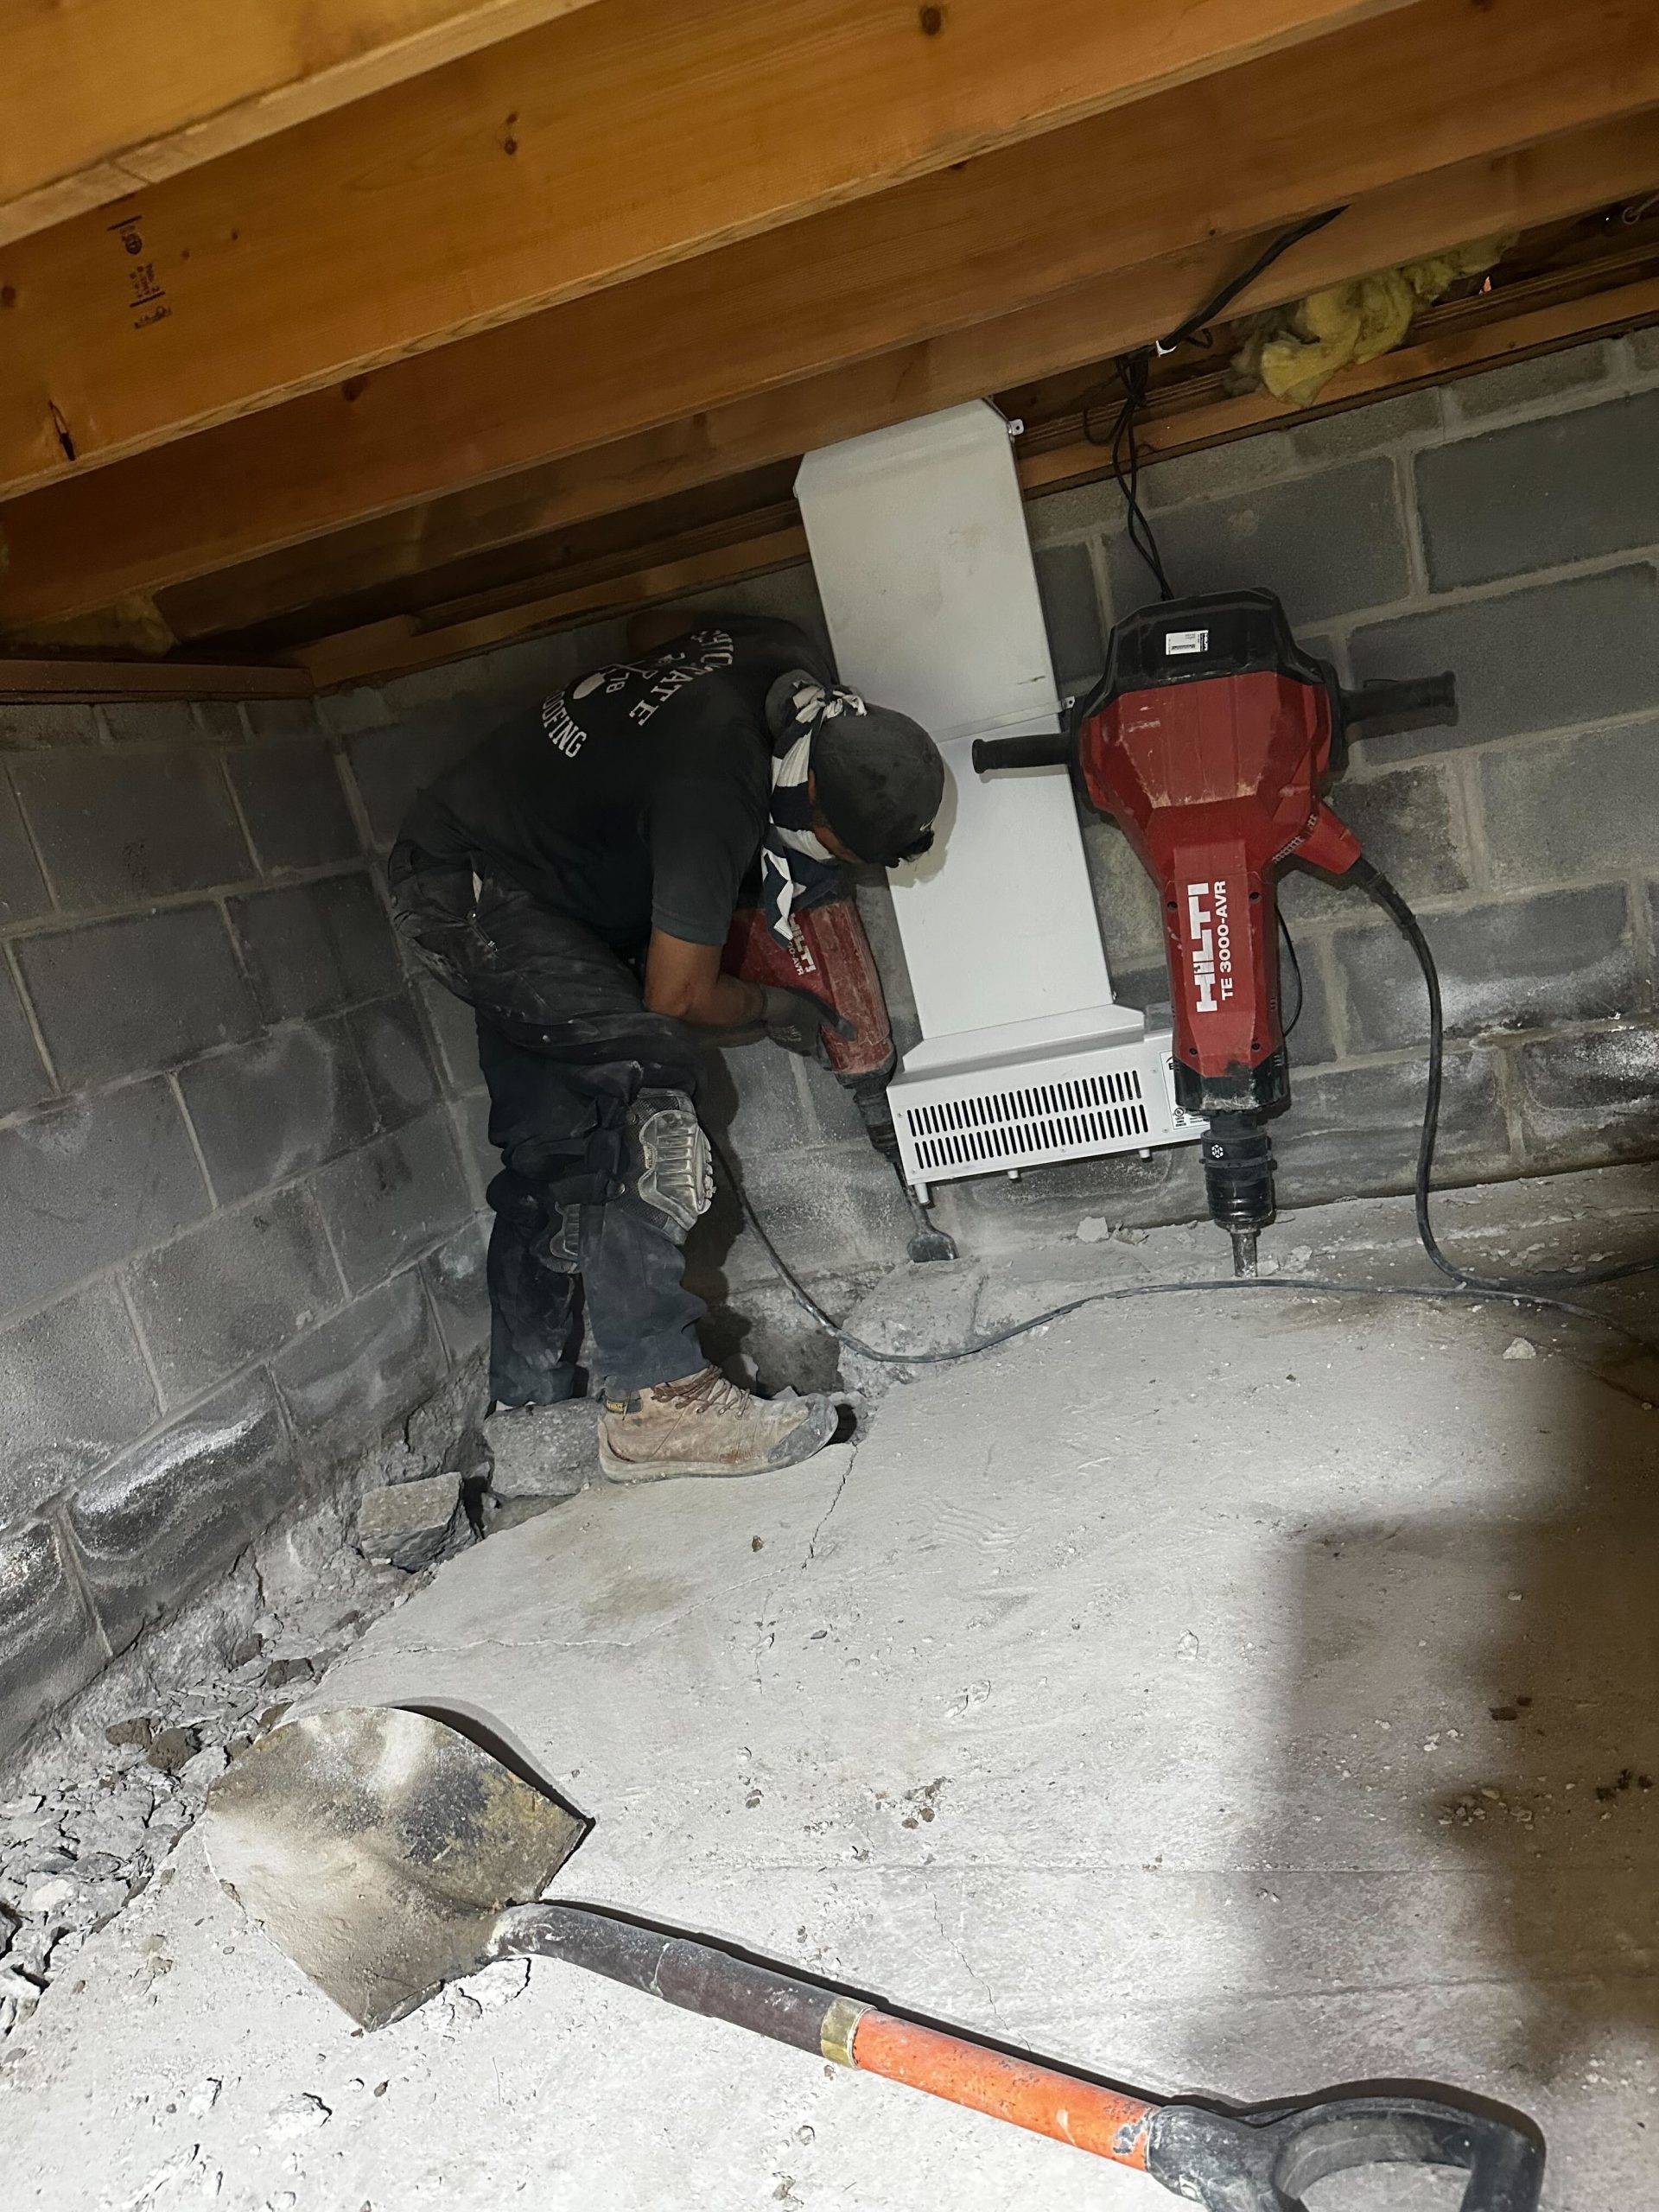
 Imagine the horror of descending your basement stairs only to be welcomed by a pool of water, the smell of dampness, and the sight of ruined possessions. You don’t have to live in fear of this nightmare becoming reality. By understanding and addressing the common causes of basement flooding and implementing effective waterproofing strategies, you can fortify your basement against water intrusion. But what exactly does it take to create a flood-free basement? Let’s explore the necessary steps together, and you’ll discover how achievable a dry, safe basement truly can be.
Essential Waterproofing Strategies: Key Takeaways for HomeownersKey Takeaways
- Identify potential hazards such as foundation cracks, faulty gutters, and improper grading that lead to basement flooding.
- Install and maintain a sump pump system to manage and direct water away from the basement.
- Seal visible cracks and leaks using waterproof sealants and water-resistant paints formulated for basement walls.
- Implement a French drain system to divert water away from the foundation, preventing oversaturation and reducing moisture levels in the basement.
- Establish a regular inspection and maintenance routine for gutters, downspouts, foundations, sump pumps, and French drains to prevent water intrusion.
Understanding Basement Flooding Causes
Before we explore waterproofing strategies, it’s vital to understand the root causes of basement flooding. You might be surprised to learn that the issue often starts above ground. Heavy rainfall or melting snow can saturate the soil around your home’s foundation. If the ground can’t absorb the excess water, it seeks the path of least resistance, which can be your basement.
Another common cause is cracks in your foundation. Over time, foundations can develop cracks due to soil shifts or other natural occurrences. These cracks act as gateways for water to seep into your basement, causing unwanted moisture and potential flooding.
Faulty gutters and downspouts also contribute to basement flooding. If they’re not directing water away from your home’s foundation effectively, it can pool around the base of your house, increasing the chances of water seeping into your basement.
Lastly, it’s important to evaluate the impact of improper grading around your home. If your property slopes towards your house instead of away, you’re inviting water to flow towards your foundation, posing another risk of basement flooding.
Understanding these causes is the first step towards a flood-free basement.
The Importance of Proper Drainage
Ensuring proper drainage around your home is a key defense mechanism against basement flooding. It’s not simply about diverting water away from your home, but also about managing it correctly. Rainwater or melted snow can quickly become a problem if your property isn’t designed to handle it.
- Gutters and Downspouts – Make sure gutters are clear of debris and downspouts are directing water at least 6 feet away from your home’s foundation. It’s a simple step, but it’s incredibly effective in preventing basement flooding.
- Land Grading – The slope of your yard plays a key role in water drainage. It should slope away from your house, guiding water to the street, a storm drain, or a designated runoff zone.
- Drainage Systems – For properties susceptible to heavy rain or snow, additional drainage solutions might be necessary. French drains, for instance, are trenches filled with gravel or rock containing a perforated pipe that redirects water away from your home.
Implementing Sump Pump Solutions
Now, let’s move on to a crucial aspect of basement waterproofing- implementing sump pump solutions.
Understanding the installation process and knowing how to maintain your sump pump are key to ensuring its effectiveness.
In the following section, we’ll guide you through these essential steps, enabling you to keep your basement dry and flood-free.
Sump Pump Installation Process
One effective method to safeguard your basement from flooding is by implementing a sump pump solution.
However, correct installation is essential for effective operation. Here’s a brief overview of the sump pump installation process.
- Selecting the Correct Sump Pump: It’s important that you choose the right pump for your needs.
Submersible pumps, while more expensive, are quieter and can handle larger volumes of water.
Pedestal pumps are less expensive but are noisier and less effective at handling large water volumes.
- Preparing the Sump Basin: The sump basin is the pit where the pump is installed.
It should be deep and wide enough to accommodate the sump pump.
Usually, it’s dug in the lowest part of your basement.
- Installing the Pump: Once the basin is ready, place the pump into the basin.
Connect it to the power source and the drainage pipe.
Make sure it’s level and secure before testing it.
Maintaining Your Sump Pump
After successfully installing your sump pump, it’s not time to sit back and forget about it. Regular maintenance is essential to guarantee its longevity and peak functioning. If neglected, your sump pump can fail, putting your basement at risk of flooding.
Firstly, clean your sump pump at least once a year. Remove any debris from the pit, check for clogs in the intake screen and discharge pipe, and clean the pump with a vinegar solution to remove any build-up of calcium or rust.
It’s also important to run a test every few months. Simply pour water into the pit until the pump turns on. If it’s not working, you’ll need to troubleshoot the issue or consider a replacement.
Moreover, keep an ear out for unusual noises. Grinding or gurgling sounds could indicate a problem with the motor or a clog in the system.
Sealing Cracks and Leaks
Plagued by incessant leaks or cracks in your basement? Don’t fret; there’s a solution.
Sealing cracks and leaks is a significant step in the process of waterproofing your basement. This step is essential because these tiny fissures can allow water to seep in, leading to damage, mold growth, and a wet basement.
To tackle this issue, you need to:
- Identify the cracks and leaks: Start by thoroughly inspecting your basement. Look for visible cracks or damp spots on the walls and floors. Don’t forget to check around windows and pipes as well.
- Prepare the surface: Once you’ve located the cracks, clean the areas around them. Remove any loose debris or dirt, as these can interfere with the sealant’s ability to adhere.
- Apply a sealant: Use a waterproof sealant to fill in the cracks and leaks. Make sure you choose a sealant that’s suitable for the material of your basement walls and floors.
Installing a Waterproof Membrane
Shield your basement from water intrusion by installing a waterproof membrane. This is an effective way to prevent water from seeping into your basement, offering a secondary line of defense after sealing cracks and leaks.
Choosing the right type of membrane is critical. Opt for a high-quality, durable membrane, as a lower-quality one mightn’t provide the protection you need.
Installation of a waterproof membrane is a task you can tackle yourself, but it’s important to follow the manufacturer’s instructions closely. First, verify your basement wall is clean, dry, and free from loose materials.
You’ll then apply the membrane, typically by rolling or brushing it on, making sure it’s applied evenly without gaps. It should extend slightly above the ground level outside for full protection.
After installation, allow the membrane to cure fully before backfilling. This will guarantee it adheres properly and provides maximum protection.
Waterproofing a basement isn’t a one-step process; it’s a combination of strategies. After installing a waterproof membrane, you’ll need to take into account other measures, such as using a dehumidifier, which we’ll discuss in the next section.
The Role of Dehumidifiers
In the midst of your basement waterproofing efforts, don’t overlook the essential role of dehumidifiers. These devices are instrumental in maintaining a dry, moisture-free environment. They work by drawing excess humidity from the air, helping to prevent dampness that can lead to mold growth and structural damage.
Here’s how dehumidifiers can aid your waterproofing strategy:
- Preventing Mold and Mildew: Dehumidifiers reduce humidity levels, making your basement less hospitable to allergens such as dust mites, mold, and mildew.
- Protecting Your Foundation: By controlling moisture levels, dehumidifiers can prevent the expansion and contraction of foundation materials that lead to cracks.
- Preserving Basement Items: If you’re using your basement for storage, a dehumidifier can help protect your belongings from dampness and mold damage.
Benefits of French Drains
In your quest for a dry basement, don’t overlook the value of French drains.
They’re efficient water management systems that can greatly reduce basement moisture.
In the following discussion, we’ll explore their efficiency, the steps involved in their installation, and the ins and outs of maintaining them for long-lasting results.
French Drains: Efficiency
While you mightn’t have considered it before, French drains can be a remarkably effective addition to your home’s waterproofing strategy.
These simple yet ingenious contraptions, named after the American judge who popularized them, are typically installed around the perimeter of your home or in specific trouble spots.
And they’re not just for homes with basements – they can help keep any home dry.
Here’s why French drains are so efficient:
- Water redirection: French drains work by diverting water away from your house. This keeps the soil around your foundation from becoming oversaturated, which can lead to structural issues.
- Lower humidity: By reducing the amount of water that seeps into your basement, French drains can help lower humidity levels, making your basement a more comfortable space and preventing the growth of mold and mildew.
- Cost-effectiveness: While there’s some upfront cost involved in installing a French drain, it’s often cheaper in the long run than dealing with the damage caused by water infiltration.
In short, French drains can be an efficient, effective part of your home’s waterproofing strategy.
Installation and Maintenance
Installing a French drain might seem like an intimidating task, but with some basic knowledge and a bit of elbow grease, you can tackle it.
The process involves digging a trench around your home’s perimeter, typically at the depth of the basement floor. You’ll then lay a perforated pipe, sloping away from the house, and cover it with gravel. This setup will direct groundwater away from your home, keeping your basement dry.
Maintenance for a French drain is straightforward. Periodic checks are essential to guarantee the system isn’t clogged with debris.
You’ll also want to inspect the area after heavy rainfall to verify that it’s draining properly. If you notice water pooling, it might indicate a blockage or a problem with the slope of the pipe.
Using Water-Resistant Paints
Ever thought about the role of paints in waterproofing your basement? Indeed, water-resistant paints can be a significant player in your efforts to keep your basement dry.
Applying these paints might seem like an intimidating task, but rest assured, you can do it yourself with some basic tools and a bit of time.
Here are three key steps to follow:
- Choose the right paint: Not all paints are created equal. Look for paints specifically designed for basement walls. They’re formulated to withstand moisture and resist mold and mildew growth.
- Preparation is key: Before you start painting, verify that your walls are clean and dry. Remove any existing paint, dirt, or mildew. Fill in cracks or holes with hydraulic cement.
- Apply multiple coats: One layer of paint won’t cut it. Apply at least two coats for the best protection. Allow the first coat to dry thoroughly before applying the second.
Regular Maintenance and Inspections
Regularly inspecting your basement and maintaining its waterproofing systems is absolutely essential in preventing unwanted water intrusion. This isn’t a one-time task; it’s an ongoing commitment to protect your home’s structure and your family’s health.
Your basement can be prone to water leaks, especially during heavy rains or snow melts. You should regularly check for signs of water seepage, such as damp spots on walls and floors, peeling paint, or mold growth. If you spot these, it’s a clear sign that your waterproofing system isn’t working effectively and needs immediate attention.
Moreover, maintaining your waterproofing systems is just as vital. This includes cleaning and repairing gutters and downspouts, inspecting and fixing cracks in the foundation walls, and ensuring that your sump pump is functioning properly.
You mustn’t overlook these, as they play a fundamental role in directing water away from your basement.
Frequently Asked Questions
What Is the Average Cost of Waterproofing a Basement?
You’re likely to spend between $3,000 and $9,000 on average for basement waterproofing. Prices vary depending on the method used and the size of your basement. It’s a significant investment, but critical to maintain your home’s integrity.
How Long Does the Process of Waterproofing a Basement Usually Take?
Depending on the method used and the basement’s size, waterproofing can take 1-2 days for simple sealants, and up to a week for more extensive work. You’ll need to factor in drying time too.
Are There Any Potential Health Risks Associated With a Flooded Basement?
Yes, a flooded basement can pose serious health risks. You’re exposed to harmful mold, bacteria and viruses. These can trigger allergies, respiratory issues, and infections. Always guarantee your basement’s waterproofed to prevent these health risks.
Does Homeowners Insurance Typically Cover Basement Waterproofing Costs?
Typically, your homeowner’s insurance doesn’t cover basement waterproofing costs. It’s generally seen as a preventative measure, not a repair. Check your policy though, it can vary. Always best to be sure!
Can I Waterproof My Basement Myself or Do I Need to Hire Professionals?
You can indeed waterproof your basement yourself, if you’re handy. However, for thorough protection and peace of mind, hiring professionals is recommended. They’ll guarantee all aspects of the job are executed correctly and thoroughly.
Conclusion
Don’t let your basement be the victim of the next downpour. With proper drainage, trusty sump pumps, and strategic sealing, you’re ready to combat any moisture. Imagine a watertight canvas, painted with water-resistant hues, shielded by a French drain. Add a dehumidifier for that extra layer of defense. Remember, regular inspections are critical. It’s your fortress against flooding. So, will your basement remain a damp, dark secret or will it emerge a dry, healthy haven? The choice is yours.


